


When we are releasing software to different environments through our release pipelines, we usually want to mark that in our monitoring system. Normally that is a time-stamp or annotation and can help us diagnosing performance issues if they arise.
We extensively use Application Insights for monitoring and logging system and Azure DevOps (formerly VSTS) for our CI/CD pipelines. That’s why we will now setup a task in Azure DevOps that will publish a release annotation to Application Insights.
In order to do that, you need Azure DevOps account and Azure subscription. I won’t go into details here, there are plenty of resources on-line here and here. Then you need to create a release pipeline (if you do not have one) and Application Insights instance for your application or service.
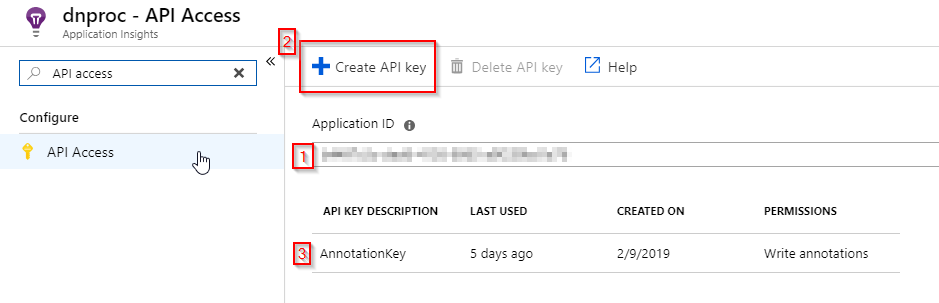
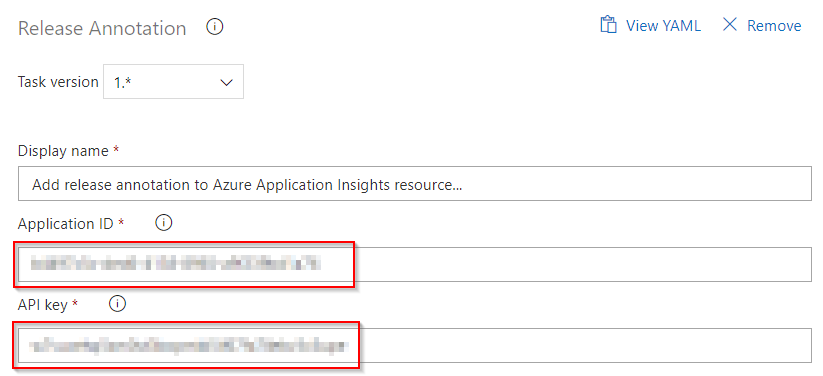
Next we need to get Application Insights Application ID and API Key. We can get those from Azure portal like shown on figure 1 below. Copy them to a notepad so you can use it in the next step.
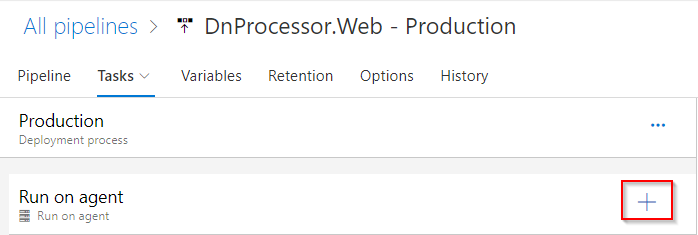
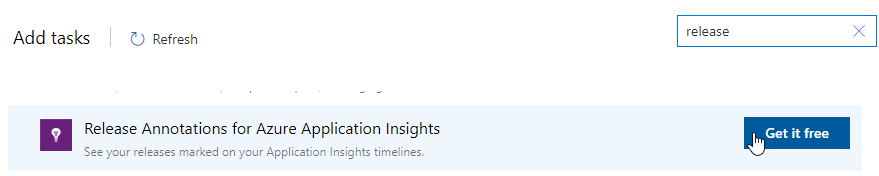
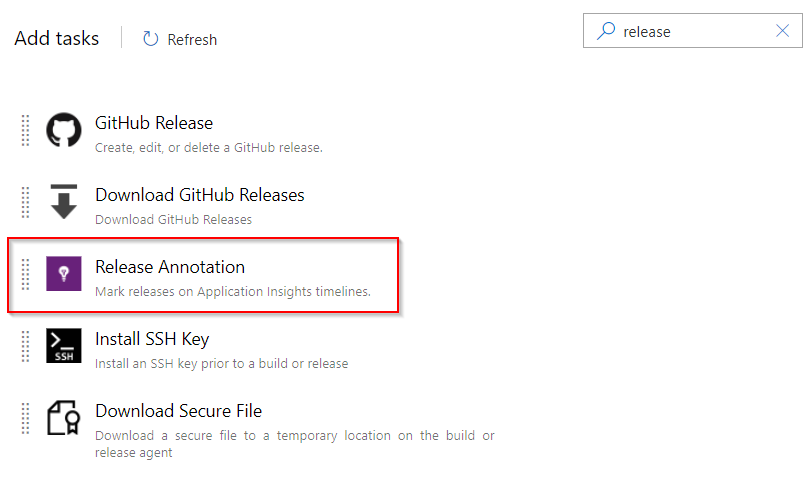
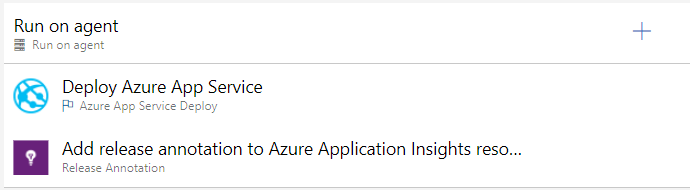
Now, go to the Azure DevOps and add the “Release annotation for Azure Application Insights” task to the chosen pipeline. You need to install it first like shown in the figure 2 and 3.
Now add the task to the pipeline and enter Application ID and API Key like shown in figure 4, 5 and 6.
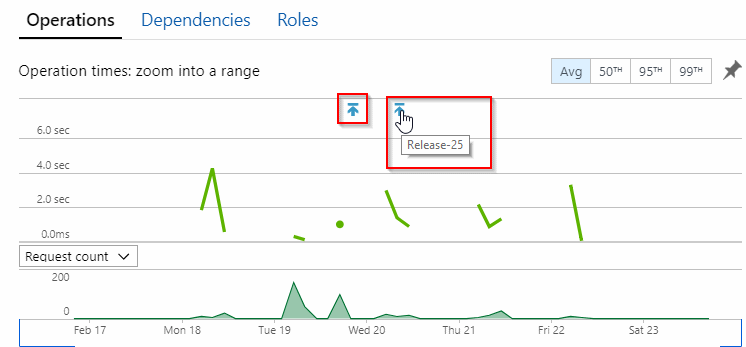
Save the pipeline and create a new release. After the release is complete, you should see annotation in Application Insights performance charts, which can help you to identify issues that might occurred with a new release.
Drop your questions down below! Till next time.
Leave a Reply
You must belogged in to post a comment.